OpenGLTutorial1
This tutorial [1] was originally written by Mikael Vejdemo Johansson, and was copied here with permission. Parts of the tutorial have been modified and extended to keep it up to date.
After having failed following the googled tutorial in HOpenGL programming, I thought I'd write down the steps I actually can get to work in a tutorial-like fashion. It may be a good idea to read this in paralell to the tutorial linked, since Panitz actually brings a lot of good explanations, even though his syntax isn't up to speed with the latest HOpenGL at all points.
Note: The OpenGL packages are part of the Haskell Platform, so you are ready to go if you have the HP already. Alas, on some platforms GHCi has problems running the following programs, so you might have to compile them with GHC and run the generated executables instead.
Hello World
A minimal OpenGL program will need to load the OpenGL libraries and open a window. This is all you need to get an OpenGL program running. This is the skeleton that we'll be building on for the rest of this tutorial:
import Graphics.UI.GLUT

main :: IO ()
main = do
  (_progName, _args) <- getArgsAndInitialize
  _window <- createWindow "Hello World"
  displayCallback $= display
  mainLoop

display :: DisplayCallback
display = do
  clear [ ColorBuffer ]
flushghc --make HelloWorld.hsWhen you run the program, a new blank window open with the title "Hello World" will open.
This code creates a window and sets the main display function.
getArgsAndInitialize initializes the OpenGL systems.
createWindow opens the window; its argument is the title of the window.
displayCallback controls the main display function for the current window.
We use ($=) to set it to our display function.
mainLoop is where GLUT takes over, using our displayCallback to draw the contents of the window.
This defines a function display that calls a few OpenGL functions.
clear clears out the graphics color state (so we get a blank canvas).
flush pushes our OpenGL commands down to the system graphics for actual display.
displayCallback $= display
We don't call display directly. In fact, we don't call any graphics drawing functions directly.
Instead we set a display callback, and then call mainLoop.
In mainLoop, GLUT takes over.
It handles all the details of interacting with the OS, refreshing our window, and calling our displayCallback to draw graphics.
displayCallback is a globally defined StateVar (mutable state variable), which we set using a call to ($=).
In the OpenGL StateVar module, there is a HasSetter type class and an StateVar implementation providing functions ($=) (assignment) and get to facilitate interactions with these state variables.
IORefs are StateVars, too:
do height <- newIORef 1.0
   currentHeight <- get height
   height $= 1.5
Using the drawing canvas
So, we have a window, we have a display callback that clears the canvas. Don't we want more out of it? Sure we do. So let's draw some things.
import Graphics.UI.GLUT

myPoints :: [(GLfloat,GLfloat,GLfloat)]
myPoints = [ (sin (2*pi*k/12), cos (2*pi*k/12), 0) | k <- [1..12] ]

main :: IO ()
main = do
  (_progName, _args) <- getArgsAndInitialize
  _window <- createWindow "Hello World"
  displayCallback $= display
  mainLoop

display :: DisplayCallback
display = do
  clear [ColorBuffer]
  renderPrimitive Points $
     mapM_ (\(x, y, z) -> vertex $ Vertex3 x y z) myPoints
  flush
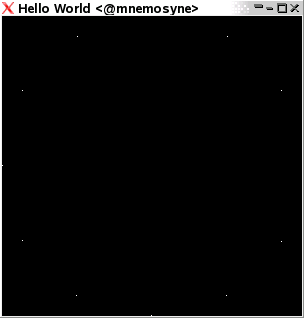
Now, the important thing to notice in this code extract is that renderPrimitive line. It starts a rendering definition, gives the kind of things to be rendered, and then a sequence of function calls, each of which adds a vertex to the rendering canvas. The statement is basically equivalent to something along the lines of
renderPrimitive Points do
  vertex (Vertex3 ...)
  vertex (Vertex3 ...)
  ...
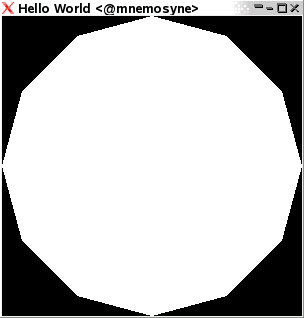
for appropriate triples of coordinate values at the appropriate places. This results in the rendition here:
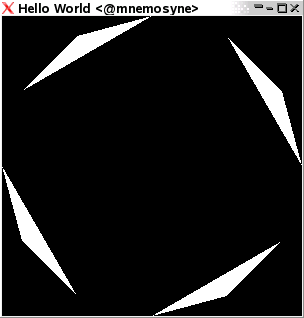
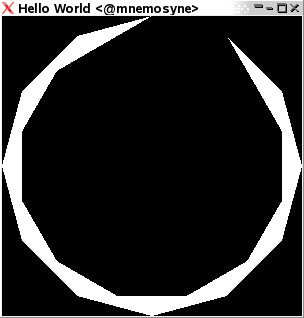
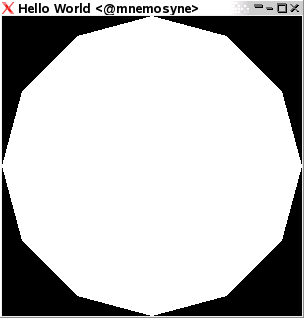
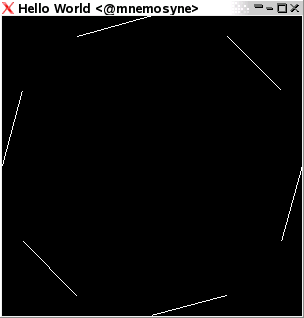
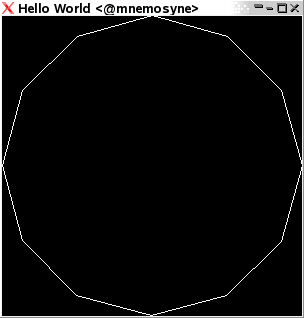
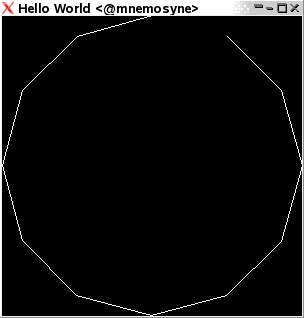
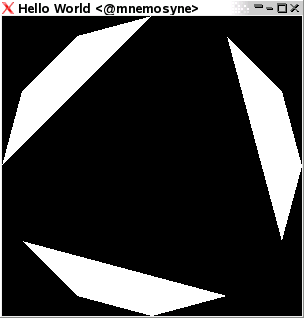
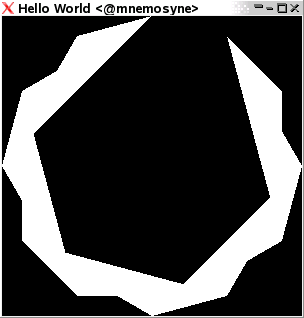
We can replace Points with other primitives, leading to the rendering of:
Triangles
Each three coordinates following each other define a triangle. The last n mod 3 coordinates are ignored.
Triangle strips
When using TriangleStrip, triangles are drawn according to a “moving window” of size three, so the two last coordinates in the previous triangle become the two first in the next triangle.
Triangle fans
When using a TriangleFan, the first given coordinate is used as a base point, and takes each pair of subsequent coordinates to define a triangle together with the first coordinate.
Lines
Each pair of coordinates define a line.
Line loops
With LineLoop, each further coordinate defines a line together with the last coordinate used. Once all coordinates are used up, an additional line is drawn back to the beginning.
Line strips
A LineStrip is like a LineLoop, only without the last link added.
Quadrangles
For the Quads keyword, each four coordinates given define a quadrangle.
Quadrangle strips
And a QuadStrip works as the TriangleStrip, only the window is 4 coordinates wide and steps 2 steps each time, so each new pair of coordinates attaches a new quadrangle to the last edge of the last quadrangle.
It is easier to understand what is going on when you see how the window is formed. Giving each coordinate a number, the QuadStrip is rendered as follows: Coordinates 1, 2 and 4 are rendered as a triangle followed by coordinates 1, 3 and 4. Next coordinates 3, 4 and 6 are rendered as a triangle followed by coordinates 3, 5 and 6.
Rendering continues for as many coordinates that can be formed by that pattern.
Polygon
A Polygon is a filled line loop. Simple as that!
Using colors
There are more things we can do on our canvas than just spreading out coordinates. Within the command list constructed after a renderPrimitive, we can give several different commands that control what things are supposed to look like, so for instance we could use the following:
display = do
  let color3f r g b = color $ Color3 r g (b :: GLfloat)
      vertex3f x y z = vertex $ Vertex3 x y (z :: GLfloat)
  clear [ColorBuffer]
  renderPrimitive Quads $ do
    color3f 1 0 0
    vertex3f 0 0 0
    vertex3f 0 0.2 0
    vertex3f 0.2 0.2 0
    vertex3f 0.2 0 0

    color3f 0 1 0
    vertex3f 0 0 0
    vertex3f 0 (-0.2) 0
    vertex3f 0.2 (-0.2) 0
    vertex3f 0.2 0 0

    color3f 0 0 1
    vertex3f 0 0 0
    vertex3f 0 (-0.2) 0
    vertex3f (-0.2) (-0.2) 0
    vertex3f (-0.2) 0 0

    color3f 1 0 1
    vertex3f 0 0 0
    vertex3f 0 0.2 0
    vertex3f (-0.2) 0.2 0
    vertex3f (-0.2) 0 0
  flush
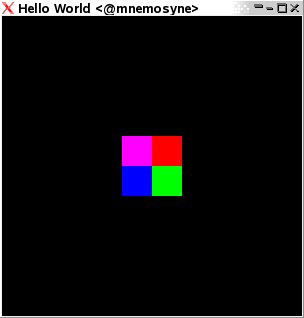
in order to produce these four coloured squares:
where each color command sets the color for the next items drawn, and the vertex commands give vertices for the four squares.
Callbacks - how we react to changes
We have already seen one callback in action: displayCallback. The callbacks are state variables of the HOpenGL system, and are called in order to handle various things that may happen to the place the drawing canvas lives. For a first exercise, resize the latest window you've used. Go on, do it now.
I bet it looked ugly, didn't it?
This is because we have no code handling what to do if the window should suddenly change. Handling this is done in a callback, residing in the reshapeCallback. Similarly, repainting is done in displayCallback, keyboard and mouse input is in keyboardMouseCallback, and so on. We can refer to the HOpenGL documentation for window callbacks and for global callbacks. Window callbacks are things like display, keyboard and mouse, and reshape. Global callbacks deal with timing issues (for those snazzy animations) and the menu interface systems.
Some callbacks are not necessarily set, so those callback state variables contain a Maybe, where Nothing means that the corresponding callback is currently not set, i.e. disabled. If there is a callback, it is wrapped in Just. We'll add a callback for reshaping the window to our neat code, changing the main function to:
main :: IO ()
main = do
  (_progName, _args) <- getArgsAndInitialize
  _window <- createWindow "Hello World"
  displayCallback $= display
  reshapeCallback $= Just reshape
  mainLoop

reshape :: ReshapeCallback
reshape size = do
  viewport $= (Position 0 0, size)
  postRedisplay Nothing
Here, the code for the reshape function resizes the viewport so that our drawing area contains the entire new window. After setting the new viewport, it also tells the windowing system that something has happened to the window, and that therefore, the display function should be called.
Summary
So, in conclusion, so far we can display a window, post basic callbacks to get the window handling to run smoothly, and draw in our window. Next installment of the tutorial will bring you 3D drawing, keyboard and mouse interactions, the incredible power of matrices and the ability to rotate 3D objects for your leisure. Possibly, we'll even look into animations.
